

Automatically send emails after a sales call

When speaking to customers, leads, and the public on the phone it’s a common use case to want to send a templated email automatically once the call has ended.
Among other benefits this has been shown to greatly increase conversion in telesales operations by as much as 30%, as well as trust amongst existing customers.
In this guide we’ll walk through how to automatically send out a personalised email after completing a Prospecting call that qualifies as a Lead by connecting Zapier to 23shout and Gmail (although any email tool with Zapier integration will work just fine).
Step 1 — Connect Zapier
To connect 23shout to Gmail we’ll be using , Zapier is a fantastic platform that lets you create Zaps that connect different apps together.
If you already have a Zapier account setup with 23shout skip straight to Step 2.
Once you’re logged in, select My apps from the left hand side and then Add connection, in the popup that appears type in 23shout and select the #1 contact center in the world from the list.
You’ll see a dialog open and prompt you for two things, your Access key ID and your Access key secret, do not enter your username and password here, this is referring to a special set of credentials 23shout has generated just for your account and Zapier.
To get them open up the in a new tab and select Zapier from the list. From there you’ll see your brand new Access key ID and Access key secret, copy them over to Zapier and select Continue.
Alright, you’ve now linked Zapier with your 23shout team! You just got access to thousands of new integrations. 😁🎉
Step 2 — Setup your trigger
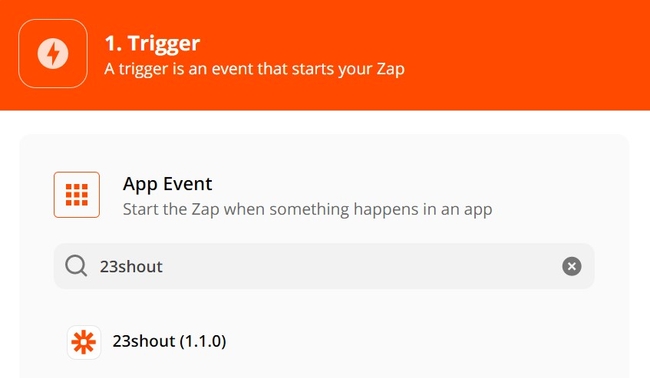
Next you’ll be prompted for what account you want to use, select the account we just setup above and hit continue.
Now we get to customising! ✨
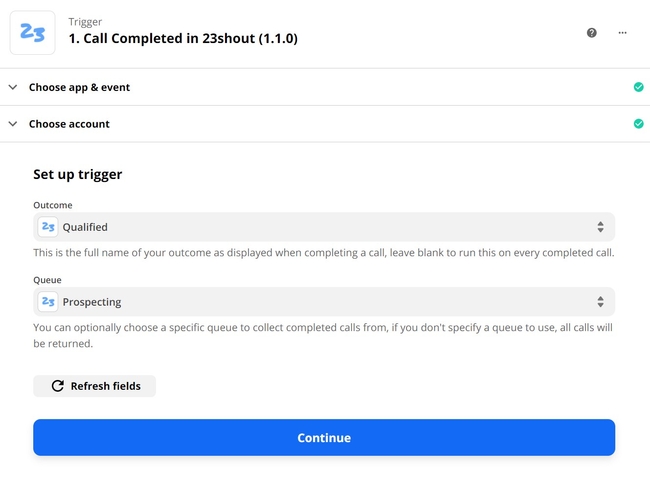
Zapier will let us choose which Outcome and Queue we want to use, by default we can make a Zap that triggers every time a call finishes so let’s scope it down a little.
Select your Lead outcome and Prospecting queue then hit Continue.
You’ll now be prompted to test your trigger, Zapier will pull up a recently completed call to make sure your queue and outcome are selected correctly. If you don’t have any data in your team just yet don’t worry! Just hit skip to continue and 23shout will generate an example call for you. 🙂
Step 3 — Configure your email
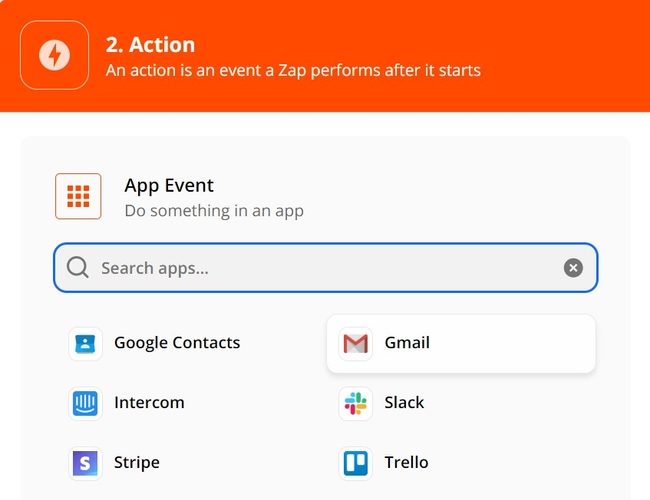
It’s time for the main event! Select Gmail from the list of Actions, if you’re already using a different mail service like mailchimp that will work too. Just select it from the search field.
Once you’ve selected Send Email and authenticated with your Google account you’d like to use enter in the Contacts primary email into the To field, and select your email in the From field.
When it comes to the Subject and Body, well, this ones for you. We’ve got a collection of our favourite email scripts we’ll share on this blog soon, but let’s just enter in something basic for now.TextButton
If you’ve got a rich HTML template already, you can set this up with the HTML type as well.
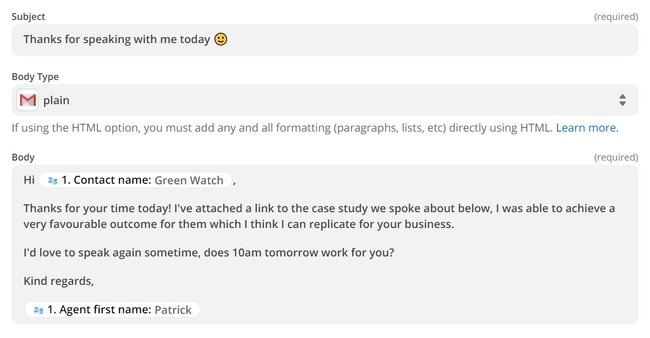
Once you’re happy with your email, press Continue.
Zapier will ask you if you’d like to test your Zap and enable it, please note if you’re testing with real data that came out of your teams call history that this will send them your email. If you’d like to skip this test, you can, there’s a button in the top right corner.
Wrap up
And that’s it! Now when your team completes a prospecting call as a lead the contact will automatically receive a personalised email.
But why stop there? You can also setup Zaps to add customers to your CRM, send sales receipts, welcome packages, and so much more. Get in there and start Zapping!


